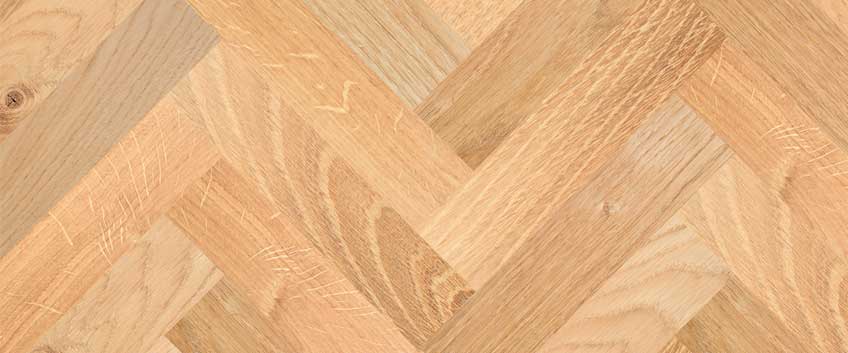
Today we continue helping you out with recommendations and professional advice to achieve a beautiful herringbone-patterned parquet wood flooring that won’t break the bank. Let’s get started because we still have a lot of work ahead!
Herringbone layout
The time has come to start laying the wooden boards in a herringbone pattern. If you have followed all the steps from part one of our guides, now you have a lot of chalk lines to work with. Now we need to chalk lines that are on both sides of the perpendicular line, which we have already chalked to use as a guide at the beginning. First, place painter's tape on the face of the board to make sure you can see your lines and if you make a mistake, you can easily take off the tape and put a new one.
To find the distance between the centre line and your working lines, you need to use a square to mark a 45-degree angle from the tip of the board. Then draw a 45-degree line from the opposite tip of the board and meet with the first line. Make a line from the intersection of these lines to the edge of the board. Then, from the point at the edge of the board, grab a square and draw a parallel line to the original 45-degree line. This last line is the line you are aligning to the centre line. The 45-degree line is the one that will guide you as your working line. Then lay out a few boards by aligning them with the working lines Mark this out on the floor and this will be your starting point.
Installing backer boards
Screw down some scrap pieces of wood behind the line you have just traced and let them rest against the pieces of flooring that you will be installing next. Now you can start with the installation. Nail one board on each side, because this will help you make sure that the ends line up perfectly.
Spline
All of the boards should already have a groove on the end you have already done. Because of the installation method, some of these boards will also require a tongue on the other end, so to make your tongue, you need to use a spline. Use a matching spline for all boards and cut it to size. These splines will be glued and nailed on the ends of the boards in case this is required.
Nailing
Now you can start nailing down boards across the room. Make sure that all boards line up properly on the ends.
Backfill
Once you have installed 7-8 pieces that way, you can already unscrew the backer board. Then put glue on the groove and set the spline into the groove, then nail it into place. You can continue installing boards until you reach the borderline.
Reversing direction
Once the v-formation is installed across the whole room, you now need to reverse direction and continue back the other way.
Cutting border
Once the flooring is installed across the whole room and within the border perimeter, you now need to cut the boards along the already-drawn borderline. You need a Festool plunge saw with a track. You have to put painter's tape on the wood flooring you can use as a guide to track the lines up. Then use the saw to cut these lines along the entire length of the room on all four sides of the borderlines drawn.
Groove
The just cut-by Festool saw boards don’t have either tongue or groove, so you have to create grooves by using a router again. Make it the same way that is explained in part 1 of the series. These boards also do not have a bevel like the rest of the boards, so make one by hand using a sanding block. Next, glue the grooves insert spline around the entire perimeter of the floor and nail them down.
Border
There will be remaining border pieces that will be installed the same as you will close out against the wall in any other flooring installation.
That is all, now you are completely done and you can enjoy your new and extremely beautiful herringbone parquet floor and be proud of the fact that you have created it!